Not only for full screen but partial areas too…
Howdy!
In our apps sometimes we want to give focus to a component or we want to display an overlay cause that thing doesn't require a new screen but to stand it out we need to blur the previous view and show our component over it. So, let's see how we can do it in simple steps.
There are two main libraries out there for overlay effect in react native:
I've used both and preferred react-native-community cause it's easily customisable, easily implemented but the buzz killer for first library was I needed a lighter background for android but couldn't seem to achieve it with it.
Installation
- Install the library using either Yarn:
yarn add @react-native-community/blurnpm install --save @react-native-community/blur
2. Link your native dependencies if you're using RN version <0.60
react-native link @react-native-community/blur3. (iOS only) Install to Xcode:
cd ios
pod install
Okay, now that we've our hands on library let's dig into code:
import { BlurView } from "@react-native-community/blur";...//later in your return statement<View style={styles.container}><BlurView style={styles.blurView}reducedTransparencyFallbackColor="gray"blurType="light"blurAmount={20}/>
<Text style={{ color: 'white' }}>Hello, I'm Blur</Text></View>//later in your fileconst styles = StyleSheet.create({container: {flex: 1,},
blurView:{position: "absolute",top: 0,left: 0,bottom: 0,right: 0}
Okay, in above code we simply showed a blur view on whole screen which had a text on it. Everything shown before the overlay tag will be non blur and everything after that will be considered it's child.
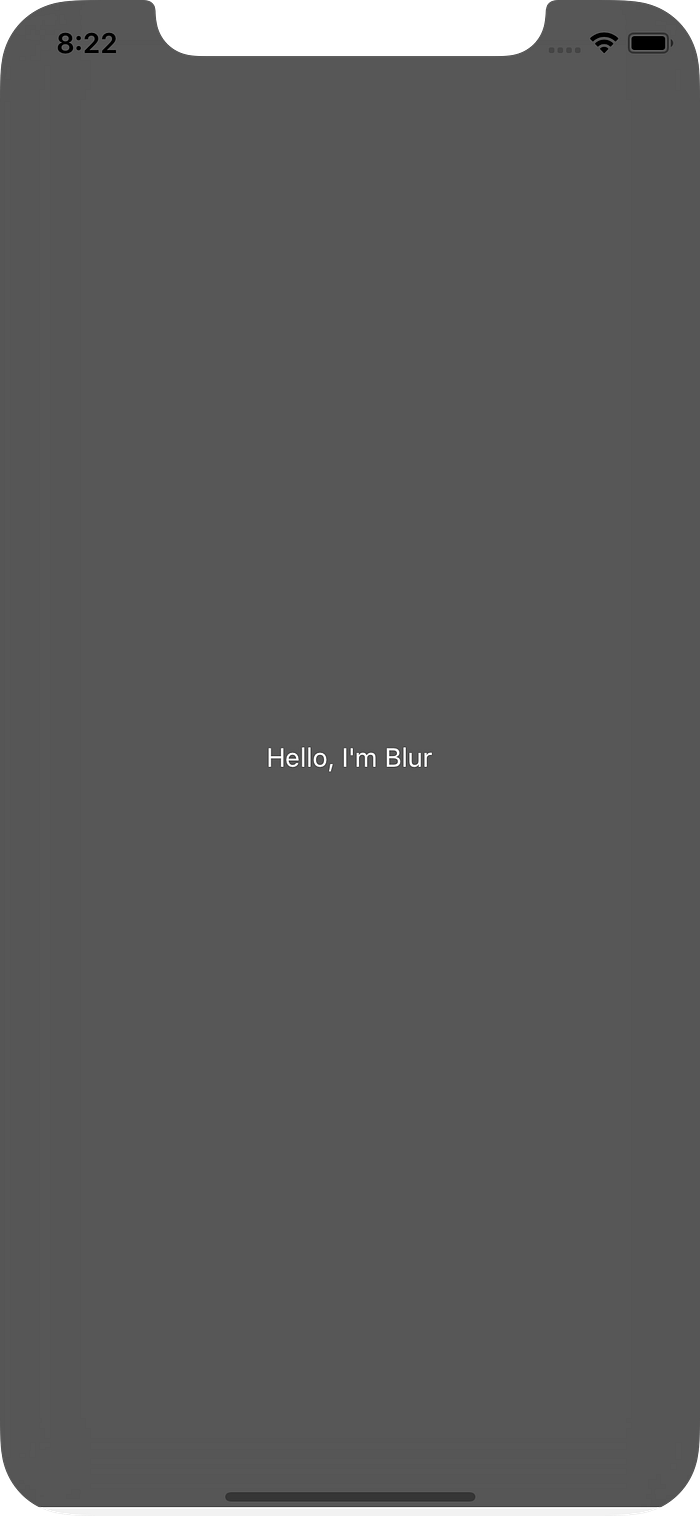
But wait you can't tell much difference, let's do it on partial screen to see what actually is happening:
<View><CustomHeader/><Text> I'm not blur </Text><View style={styles.container}> <CustomChip/> <BlurView style={styles.blurView} reducedTransparencyFallbackColor="gray" blurType="light" blurAmount={20} />
So, right before the BlurView tag we added Text tag and it'll be not blur

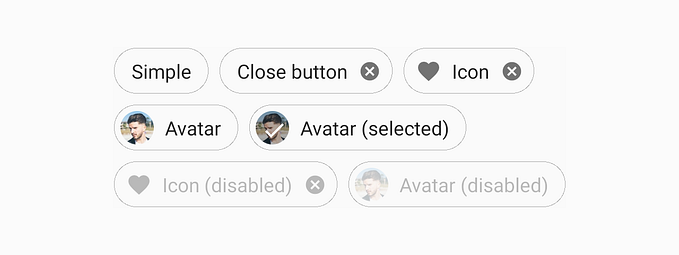
So, you can see the blur view is not effecting our custom header but it's covering our customchips because we gave them same scope, like so you can define scope of your blurView and make it partial or full view.
Now how to handle BlurView because you most definitely want to show your blur view on button click or some event.
We'll make toggle it on click:
const [overLayFlag, setOverLayFlag] = useState(false);we defined a state flag which will handle our BlurView.
And now we'll wrap our BlurView in a inline if condition:
{
overlayFlag &&
<BlurView .../>}
Now, let's define a Touchable / button anything to toggle state
<Button text='Show Overlay'
onClick={()=> setOverlayflag(!overlayFlag)} />
So, pretty straightforward onClick of button we update the state and set it opposite of current state.
and then in our above code inline if statement when flag will be true blurOverlay will be shows other way it'll hide.
You can twerk the styles of bluroverlay to adjust coordinates to show on specific area just like that.
So, that's all, we're done. Now you know how can you add that blureffect to any part of your screen without any problems..

If you have any questions or face any troubles just comment down below, we can solve it together. :)
This library has many props you can use them to give light or dark mode to your blur or change the background color and many more go check them out if you need it.
If you like the article don't forget to drop a clap!

